|
How to use labels |
  
|
|
How to use labels |
|
Let's suppose that you have sources with proxy lists, which you'd like to use to register Google accounts.
Follow the next steps:
1) Add new sources
Use the Assistant and mark the "Configure now" box in the last window of the assistant:
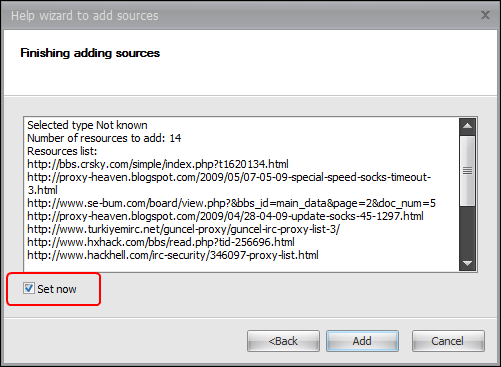
New sources will be added into the program and the "Settings" form will open.
2) Assign a label
Enter a new label "for_google":
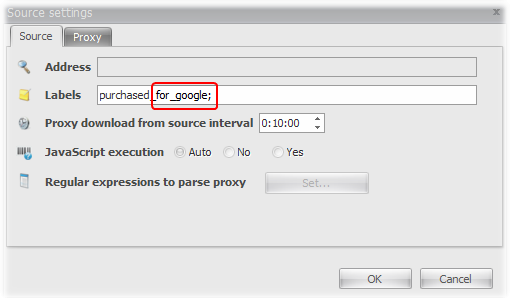
And configure the program to check proxies from these sources:

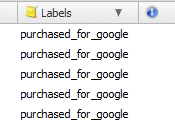
Now the recently added sources have a label that we have specified:
3) Apply a filter to the label
Assign a filter for your sources, that will reject proxies from the black list.
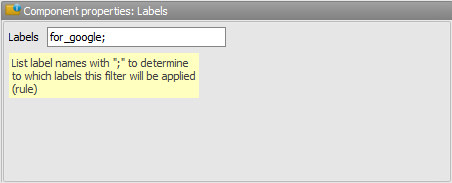
To do it let's create a new filter, by adding the "Labels" and "Black list" components
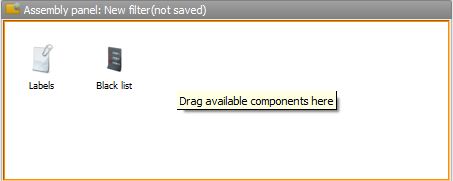
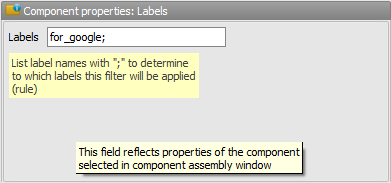
and configure the "Labels" component:
Save the filter with the name "New filter" and activate it:

Only those proxies that are not included in the black list will be added into the proxy base of the Proxy-checker.
4) Select proxies with the help of a rule
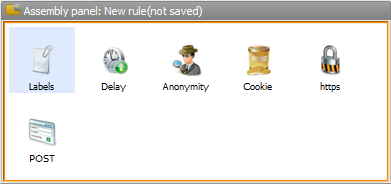
Create a new rule and add the "Labels" component:
Add the "for_google" label:
Save this rule:
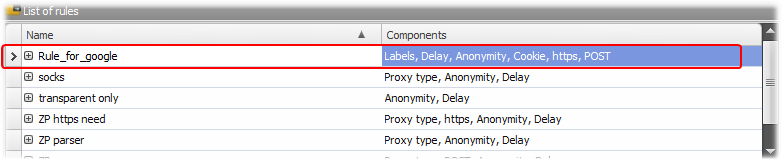
That's it!
Now you can use this "rule_for_google" to select proxies that:
1) have been received from the specified sources
2) are not included into the black list
3) have been checked according to all the rule components.
(See how to use rules in the corresponding section.)